
Who doesn’t like a good vacation in Hawaii, right? One of the places you should try and visit is Pearl Harbor. It’s a somber place to visit, but an important historical site where you can learn more about America’s involvement in the second world war.
As with every other tour, you’ll probably want to take some great photos too. But there are some issues to navigate when you talk about photography on Pearl Harbor. Who knows? Maybe you’ll learn how to take the perfect selfie by finding some useful tips in this article!
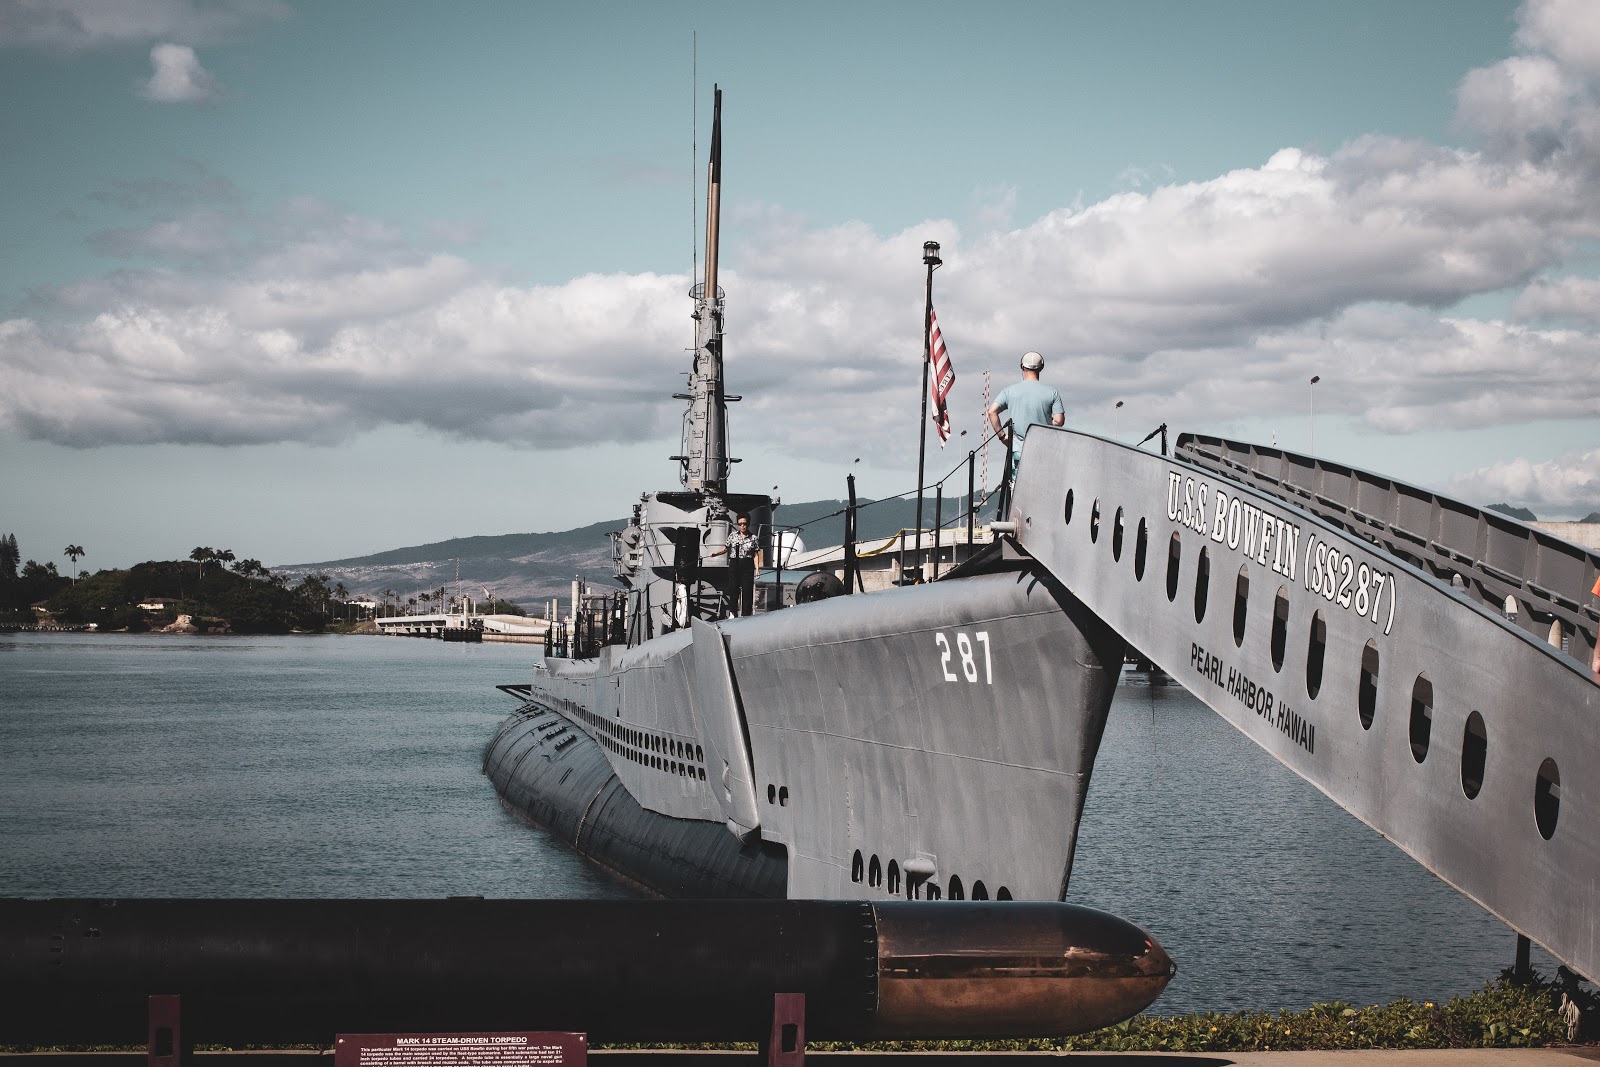
https://unsplash.com/photos/imM7Gd54PWg
First, Pearl Harbor is a military base and they don’t allow any bags in the area. At all. All the things you need, you’ll have to carry in your hands, which means having to choose between snacks, essentials, and your tripod and other equipment.
Here are some ideas for taking photos at Pearl Harbor, be it a selfie for the Gram or a group photo for the family album!
Things to Consider
Since you can’t take a bag inside with you, you’ll have to downsize your photography equipment. That tripod and those camera lenses are out of the picture, but maybe you can bring a smaller model with you. Even if you don’t, phone cameras these days are no joke. You can try wearing shorts with deep pockets and keep a folded selfie stick with you for a great photo!
Two things that keep you from getting a good picture on Pearl Harbor are the sun and the bright white exterior of buildings like the USS Arizona Memorial. They combine to give you a super bright effect that isn’t exactly ideal for photography. If you’re taking a small camera with you, carrying a polarizer would be a good idea.
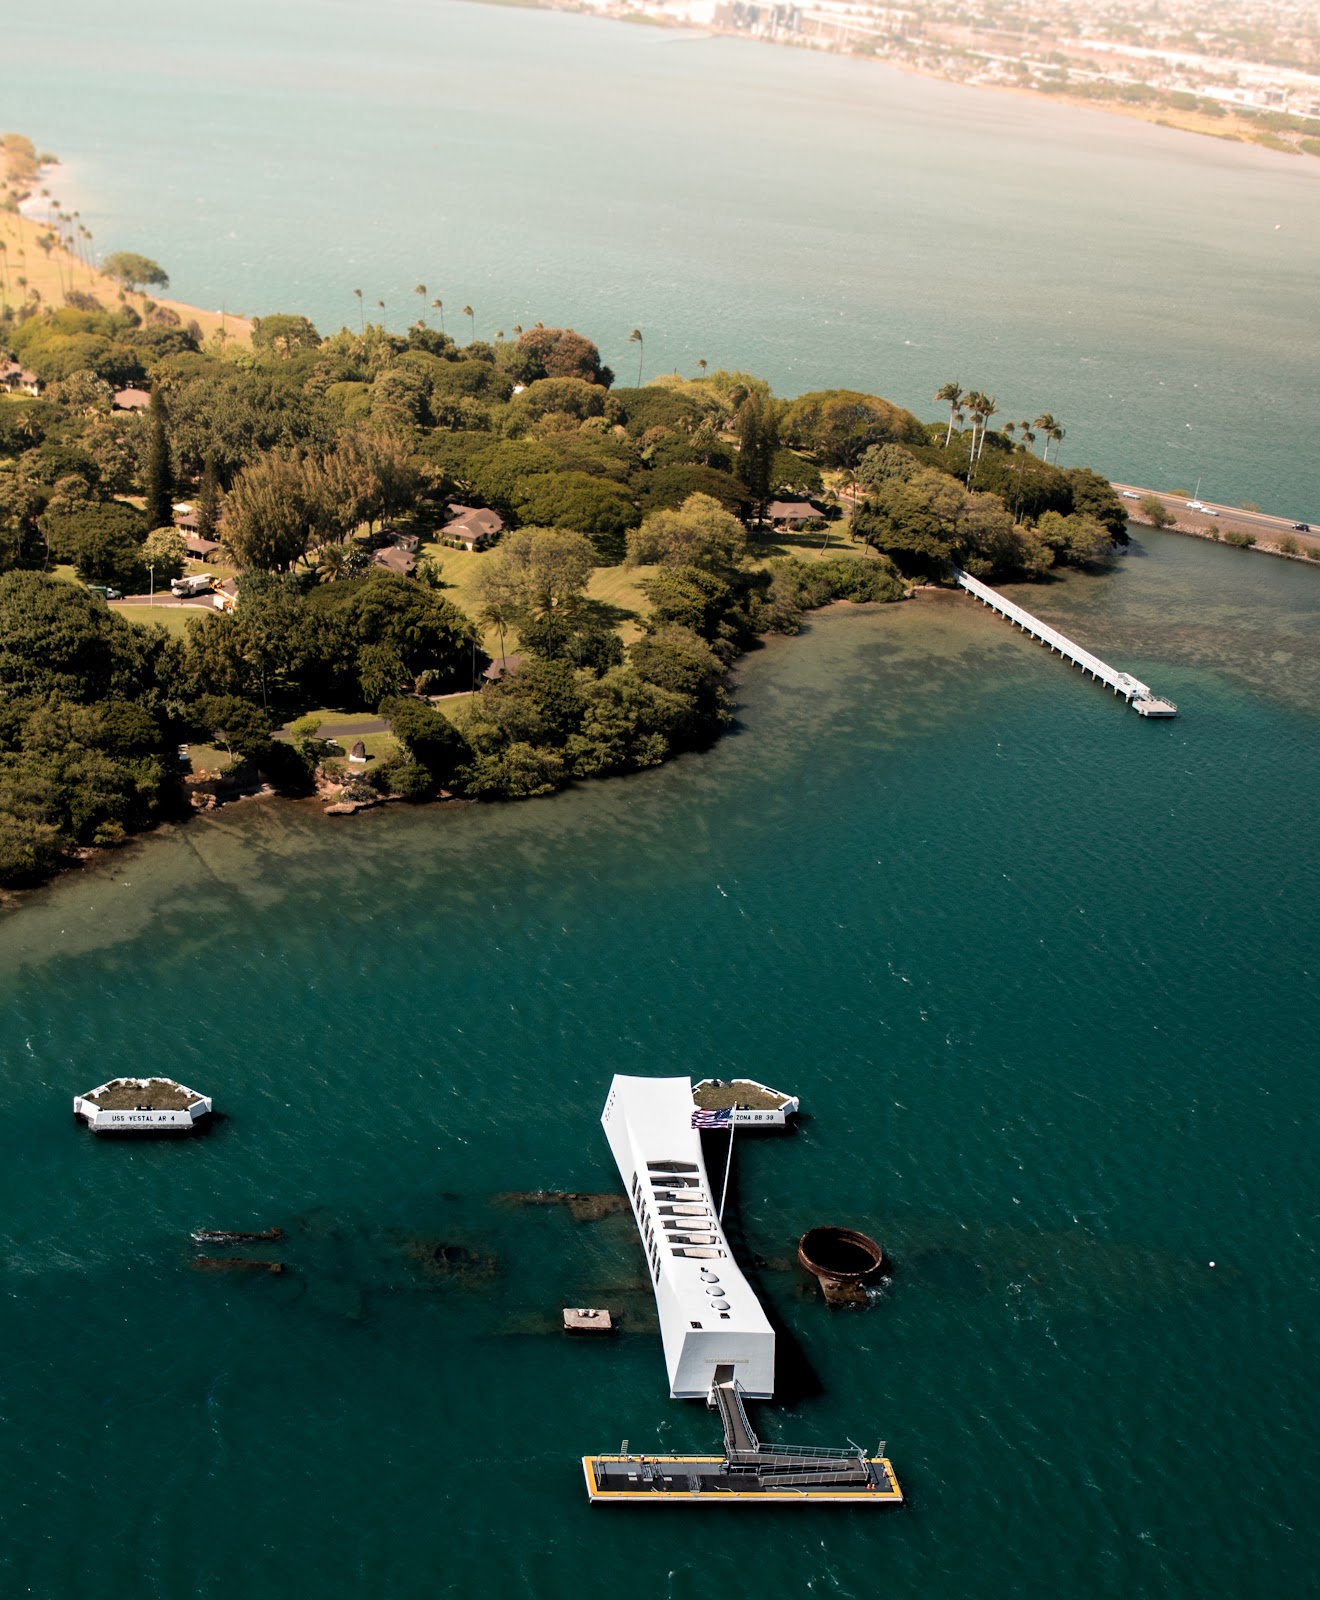
https://unsplash.com/photos/UqsOHO6EnP8
Create Your Own Shade
There is a thing as too much light in photography, but who says you can’t play around with it? Take advantage of the bright Hawaii sun by using shadows creatively.
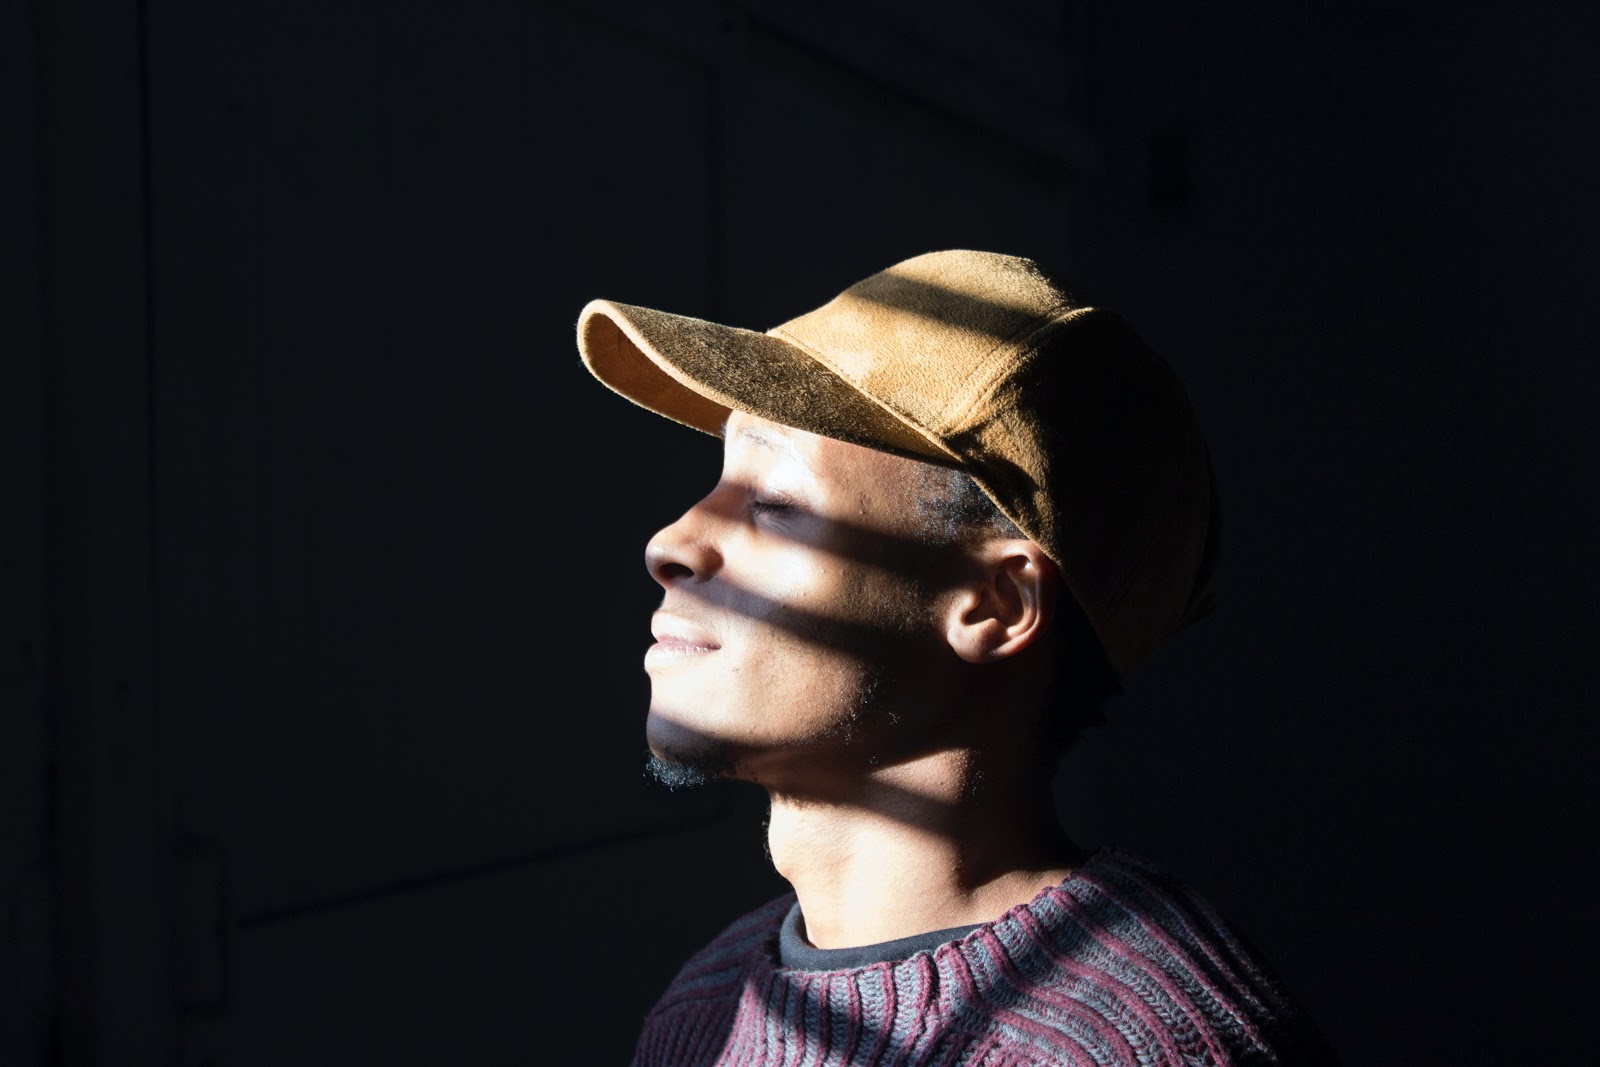
https://unsplash.com/photos/4fRRYt1jotc
Use a hat to cover half of your face in the dark, create that mystery element. Take a picture with your friend waving a scarf in front of the sun so the shadow falls on your face, play around with different shapes and clever placements!
No Close Ups!
You might have started the day looking and feeling fresh, but the sun is never kind to our skin. Excess light, a day spent sweating in the sun and the bright background at Pearl Harbor aren’t ideal for close-ups.
Try taking landscape shots instead, get thinking, and pose for a wider shot. You’re in Hawaii on an island over the sea, it would be a shame to not catch it in the background anyway.
Use Filters
At the end of the day, filters are your best friends for enhancing your photos and creating cool new visual content. Polarizing filters would work best for Pearl Harbor’s kind of setting, but you can experiment with others as well.
But this isn’t the best strategy though, and filters aren’t an instant fix for a badly taken photo, so you’ll still have to put in a little effort for that perfect Pearl Harbor shot.
Black and White Photos
The black and white effect does wonders for a photo taken in bright lights. It gives a cool effect to bright lights and the sharp, contrasting shadows to make the picture look cool and mysterious as opposed to visually unappealing and sharp.
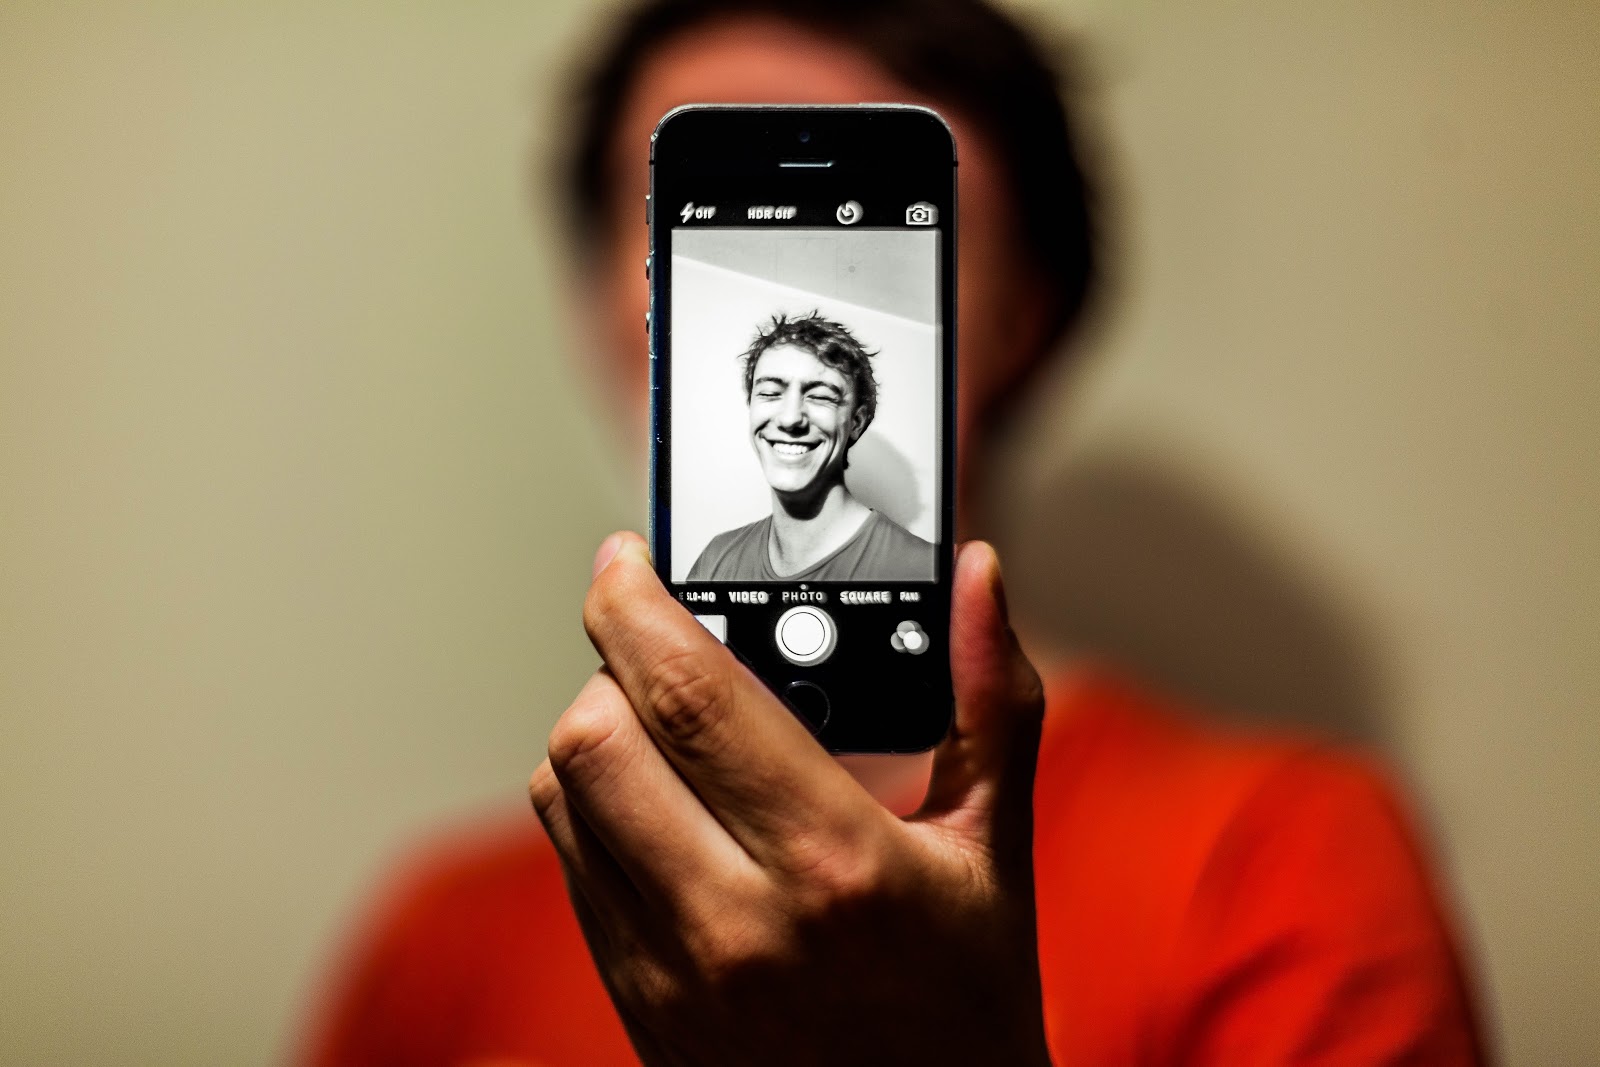
https://unsplash.com/photos/zY_NaksFH1k
Turning a picture black and white even helps you hide any washed-out colors and too white skin tones too. It’s especially helpful when you’re taking a picture standing in direct sunlight.
Use Flash
This might sound confusing, but using flash when the light is already bright doesn’t make it any worse. It actually helps fill out the shadows and soften them so the photo isn’t too harsh anymore.
If you’re visiting Pearl Harbor, taking photos might be a challenge but it’s not impossible. Some smart tricks like manipulating the shadows to your advantage, using polarizers and flash can really impact your end result. You’ll probably end up with beautiful, unique pictures you couldn’t have taken anywhere else.